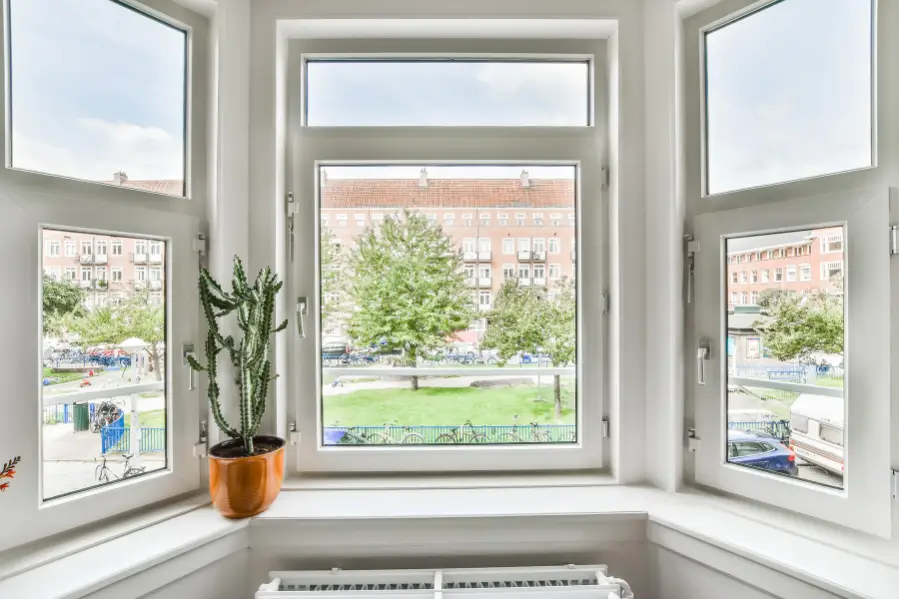
Have you been looking at your PVC windows and feeling like they’ve seen better days? A fresh coat of paint can revitalize your home without the expense of replacing the windows altogether. Painting PVC might sound tricky because of its non-porous surface, but with the right preparation and materials, it’s easier than you think. This guide will break down the steps to ensure your Painting PVC windows (pvc fenster streichen) look professional and last for years to come.
Why Paint Your PVC Windows?
PVC windows are durable and weather-resistant, but prolonged exposure to sunlight, rain, and dirt can dull their finish. Painting your PVC windows not only breathes new life into your home’s appearance but also enhances curb appeal and protects them from further wear and tear. Plus, you get the opportunity to personalize your windows to match your style and décor.
Step 1: Gather the Right Tools and Materials
Before getting started, make sure you have everything you’ll need. Here’s a list of essentials:
- High-quality PVC-friendly paint (usually acrylic or epoxy-based)
- Primer designed for plastics
- Fine-grit sandpaper (e.g., 240 to 400 grit)
- Masking tape
- Microfiber cloths
- Bucket of soapy water
- Paintbrushes, rollers, or a sprayer (choose based on your preference and project size)
- Drop cloths or plastic sheeting to protect surrounding areas
Having the right supplies ensures a smoother process and better results.
Step 2: Prep Your Workspace
Preparation is key when painting PVC windows. Start by choosing a day with good weather conditions—avoid painting on extremely humid or rainy days, as this can impact paint adhesion.
Set up your workspace by laying down drop cloths or plastic to protect nearby floors, walls, or furniture. Remove window fixtures like handles or latches and thoroughly clean the windows to remove dirt, grease, or debris using soapy water and a microfiber cloth. Allow the surface to dry completely before moving forward.
Step 3: Sand the Surface
PVC is known for its smooth, slick surface, which can make it difficult for paint to adhere. To combat this, lightly sand the frames with fine-grit sandpaper to create a slightly rough texture. This gives the primer and paint something to “stick” to. After sanding, wipe down the surface again with a clean microfiber cloth to remove any remaining dust particles.
Step 4: Apply a Primer
Never skip the primer when painting PVC—it’s the secret to long-lasting results. Select a primer designed specifically for plastics and apply it evenly across the surface. Use a brush for smaller areas and a roller or sprayer for larger, flat sections. Allow the primer to dry completely according to the manufacturer’s instructions. This step creates the perfect foundation for your paint to adhere to.
Step 5: Paint Your PVC Windows
Now, the exciting part—painting your PVC windows! Choose a high-quality PVC-friendly paint in the color of your choice. Apply the paint in thin, even coats using a brush, roller, or sprayer. Most projects will require two to three coats for full coverage. Be patient and allow sufficient drying time between coats to avoid streaks or uneven finishes.
Step 6: Finishing Touches
Once the final coat is dry, carefully remove masking tape while ensuring clean edges. Reattach any window handles or fixtures you removed earlier. Do a quick inspection to check for any touch-ups needed, and voila! Your PVC windows now have a fresh, new look that elevates your home.
Painting PVC windows can seem like a challenge, but by following these simple steps and using the correct materials, you’ll achieve a professional finish that lasts. Whether you’re sprucing up your home for yourself or preparing it for potential buyers, this project is a cost-effective way to make a big impact.
